I build WordPress sites locally using Podman, I convert the site into a static website using Python and GitHub pushes that to CloudFlare Pages.
If I want to work on one of my website once I leave the house, I can’t, because my Podman containers aren’t exposed to the public internet.
You can create a CloudFlare tunnel to solve that problem.
A Cloudflare Tunnel is a tool that allows you to safely expose a local server to the internet without having to open any ports on your home router.
Since you are exposing your local Dev site to the internet, you should secure.
It is fine to use password123 on a local environment but not when that site is publicly available.
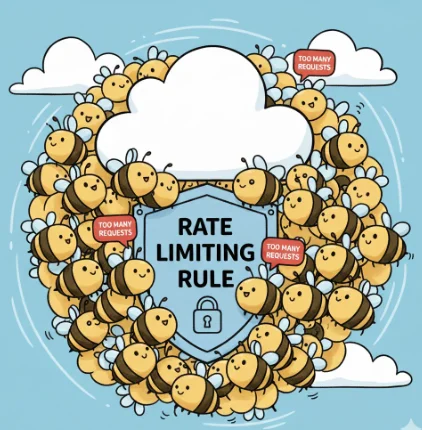
You can create CloudFlare Firewall Rules to protect or use CloudFlare Zero Trust.
Zero Trust ensures that even if someone has your URL, they can’t see a single byte of your site until they prove exactly who they are.
Cloudflare Zero Trust
On your Cloudflare account, find protect & connect on the right-side menu.
Then click on Zero Trust
Then to access controls and then to applications
Then
- Add an application.
- Self-Hosted
- Give your Application a name
- Choose the session duration
- Add a public host name
- Choose defaults as Input Method
- Add a subdomain if you want to use that or add an asterisk.
- Choose the domain from the list
- Then create a policy
- For Login Methods, Accept all available identity providers
- I don’t change anything on the Application Appearance section.
- I don’t make any changes on the Advanced Settings section.
Zero Trust Policy
These are some instructions to create a good policy:
- Give your policy a name.
- Choose an action. I use
allow - Choose an option for
session duration - In the
add rulessection, you have lots of options to create the rules. I choose Emails. - Then test your policy.
Final Thoughts
You can still apply a Cloudflare Firewall Rule as a second measure of protection.
For instance, you need to try to connect from a certain country, certain IP address or Internet Provider.
Manuel Campos
I'm a WordPress enthusiast. I document my journey and provide actionable insights to help you navigate the ever-evolving world of WordPress."